分别对应L:Linux A:Apache M:Mysql P:PHP。用中文讲即是在linux服务器上中间件为apache使用mysql作为数据库加上php这门语言的整体构造。
Linux服务器我这里选择的是centos8.2
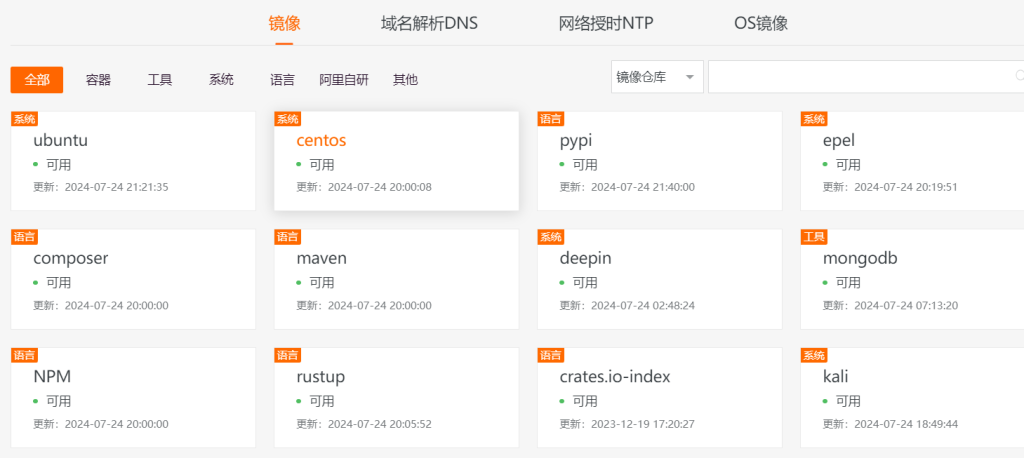
有的内容里的镜像已经被墙了,我们去阿里云上找到对应的操作系统修改镜像文件https://developer.aliyun.com/mirror/

我这里选择centos,里面有具体的操作配置部署,这里不再过多赘述
先用命令一键安装httpd服务,对应的是apache
yum -y install httpd
设置该服务的开机自启动
systemctl enable httpd --now
下载repo包,为后面mariadb数据库做准备
yum -y install http://rpms.remirepo.net/enterprise/remi-release-7.rpm
接着下载php7.4的各种模块,首先是其安装包,十分建议大家在/usr/local文件夹下添加两个文件夹(source和soft),分别作为装源码包的软件包,方便后续删除
使用 ”wget https://www.php.net/distributions/php-7.4.2.tar.gz“ 命令下载,下的慢要么换镜像要么先用主机下载再ftp传上去。我们将这个压缩包下载到刚刚提到的source文件夹内,使用 “tar -zxvf php-7.4.2.tar.gz” 命令解压,解压完成后进入目录 “cd php-7.4.2/” ,使用命令配置软件
“./configure --prefix=/usr/local/soft/php7 --with-curl --with-freetype --enable-gd --with-jpeg --with-gettext --with-iconv-dir=/usr/local --with-kerberos --with-libdir=lib64 --with-libxml --with-mysqli --with-openssl --with-pdo-mysql --with-pdo-sqlite --with-pear --enable-sockets --with-mhash --with-ldap-sasl --with-xmlrpc --with-xsl --with-zlib --enable-fpm --enable-bcmath --enable-inline-optimization --enable-mbregex --enable-mbstring --enable-opcache --enable-pcntl --enable-shmop --enable-soap --enable-sockets --enable-sysvsem --enable-xml --with-zip --with-config-file-path=/usr/local/soft/php7/etc -with-bz2 --enable-inline-optimization --enable-sysvsem”
说明:上面的configure命令的参数是php-7.4.2可用的参数,一些旧的不可用的参数会在configure时给出提示,大家不要使用已经废弃的参数,避免安装完成后不能正常使用
配置软件会出现报错情况,是正常的,因为某些资源我们还需要下载,以下错误基本都会出现
1,报错:Package ‘libxml-2.0’, required by ‘virtual:world’, not found
用 “yum install libxml2-devel” 解决
2,报错:Package ‘krb5’, required by ‘virtual:world’, not found
用 “yum install krb5-devel” 解决
3,报错:Package ‘openssl’, required by ‘virtual:world’, not found
用 “yum install openssl-devel” 解决
4,报错:Package ‘sqlite3’, required by ‘virtual:world’, not found
用 “yum install sqlite-devel” 解决
5,报错:Package ‘libcurl’, required by ‘virtual:world’, not found
用 “yum install libcurl-devel” 解决
6,报错:Package ‘oniguruma’, required by ‘virtual:world’, not found
我们需要下载一个压缩包,老规矩,放到source里面 ,再解压进入目录,./config配置,make安装
“wget https://github.com/kkos/oniguruma/archive/v6.9.4.tar.gz -O oniguruma-6.9.4.tar.gz”
“tar -zxvf oniguruma-6.9.4.tar.gz” “cd oniguruma-6.9.4/”
“./autogen.sh && ./configure --prefix=/usr” 注:这里会报错,使用 “yum install autoconf automake libtool”
“make && make install”
7,报错:Package ‘libxslt’, required by ‘virtual:world’, not found
用 “yum install libxslt-devel” 解决
8,报错:Package ‘libjpeg’, required by ‘virtual:world’, not found
用 “yum install libjpeg-devel” 解决
9,报错:Package ‘libzip’, required by ‘virtual:world’, not found
用 “yum install libzip-devel” 解决
10,报错:configure: error: Please reinstall the BZip2 distribution
yum -y install bzip2-devel
11,报错:Package ‘libpng’, required by ‘virtual:world’, not found
yum install libpng-devel
12,报错:Package ‘freetype2’, required by ‘virtual:world’, not found
yum install freetype-devel
接着我们使用 “make && make install”
能完成到这里,你的毅力已经很强了。以下均是在上面全部完成的情况下才能有的配置文件,如果发现没有文件,请重复使用那段最长的命令检测
生成php配置文件
cp php.ini-production /usr/local/soft/php7/etc/php.ini
生成www配置文件
cd /usr/local/soft/php7/etc/php-fpm.d/
cp www.conf.default www.conf
生成php-fpm配置文件
cd /usr/local/soft/php7/etc
cp php-fpm.conf.default php-fpm.conf
生成php-fpm服务启动文件
cd /usr/local/soft/php7/etc
cp php-fpm.conf.default php-fpm.conf
生成php-fpm服务启动文件
mkdir /usr/local/soft/php7/daemon
cp /usr/local/source/php-7.4.2/sapi/fpm/init.d.php-fpm /usr/local/soft/php7/daemon/php-fpm
chmod 740 /usr/local/soft/php7/daemon/php-fpm
测试启动php-fpm
/usr/local/soft/php7/daemon/php-fpm start
ps auxfww | grep php | grep -v grep
查看php版本是否成功 “php -version”

配置mariadb的repo包
vim /etc/yum.repos.d/Mariadb.repo
[mariadb]
name = MariaDB
baseurl = http://yum.mariadb.org/10.5/centos8-amd64
module_hotfixes=1
gpgkey=https://yum.mariadb.org/RPM-GPG-KEY-MariaDB
gpgcheck=1
下载安装新版本的Mariadb
yum install MariaDB-server MariaDB-client -y
开机自启并安全设置向导
systemctl enable mariadb --now
mysql_secure_installation
使用service httpd status查看apache开启没有

使用service mysql status查看mysql开启没有

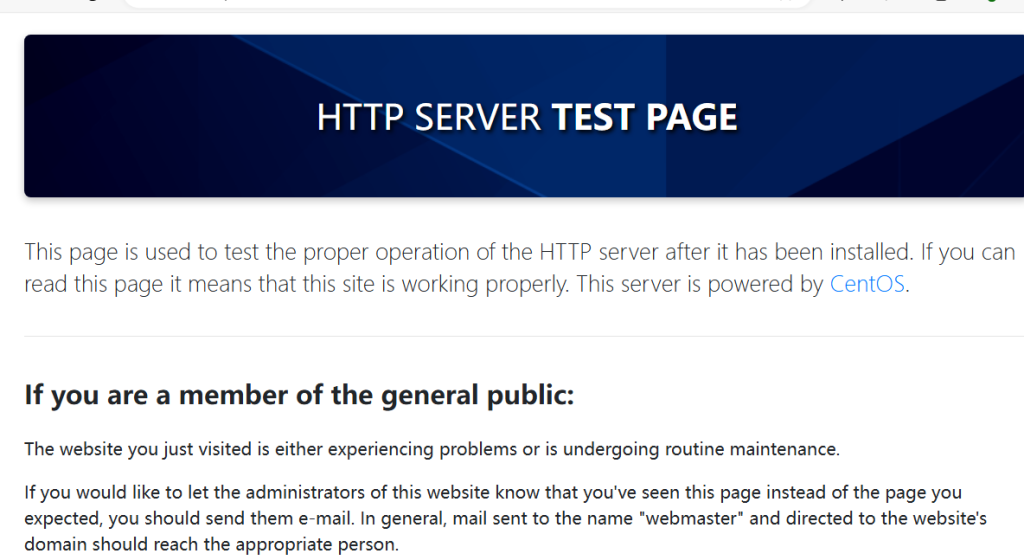
访问你的ip地址即可看到默认画面

完成!


Comments NOTHING